June 16, 2025
Building Effective Presentations with a Branded PowerPoint Template
In a recent Brand 201 training, we covered the basics of PowerPoint presentation design, including slide layout best practices, font recommendations, effective use of photos, charts, and icons, and how to embrace master slides. To make this training more widely available, we’ve turned it into a blog post for easy reference.
It’s important to note that while the following best practices are applicable across the board (whether you’re giving an academic presentation or an internal training), the following guidance assumes you’re presenting orally alongside the presentation slides. There may be instances in which you create a slideshow that’s intended to be a leave-behind—a presentation that gets shared via email for review without a presenter providing verbal context. In these cases, it’s understandable that additional text may need to be included on your slides, and bullet points can’t be kept as short as we’d like. Use this post as a guide and customize where needed—you know your audience best!
Templates
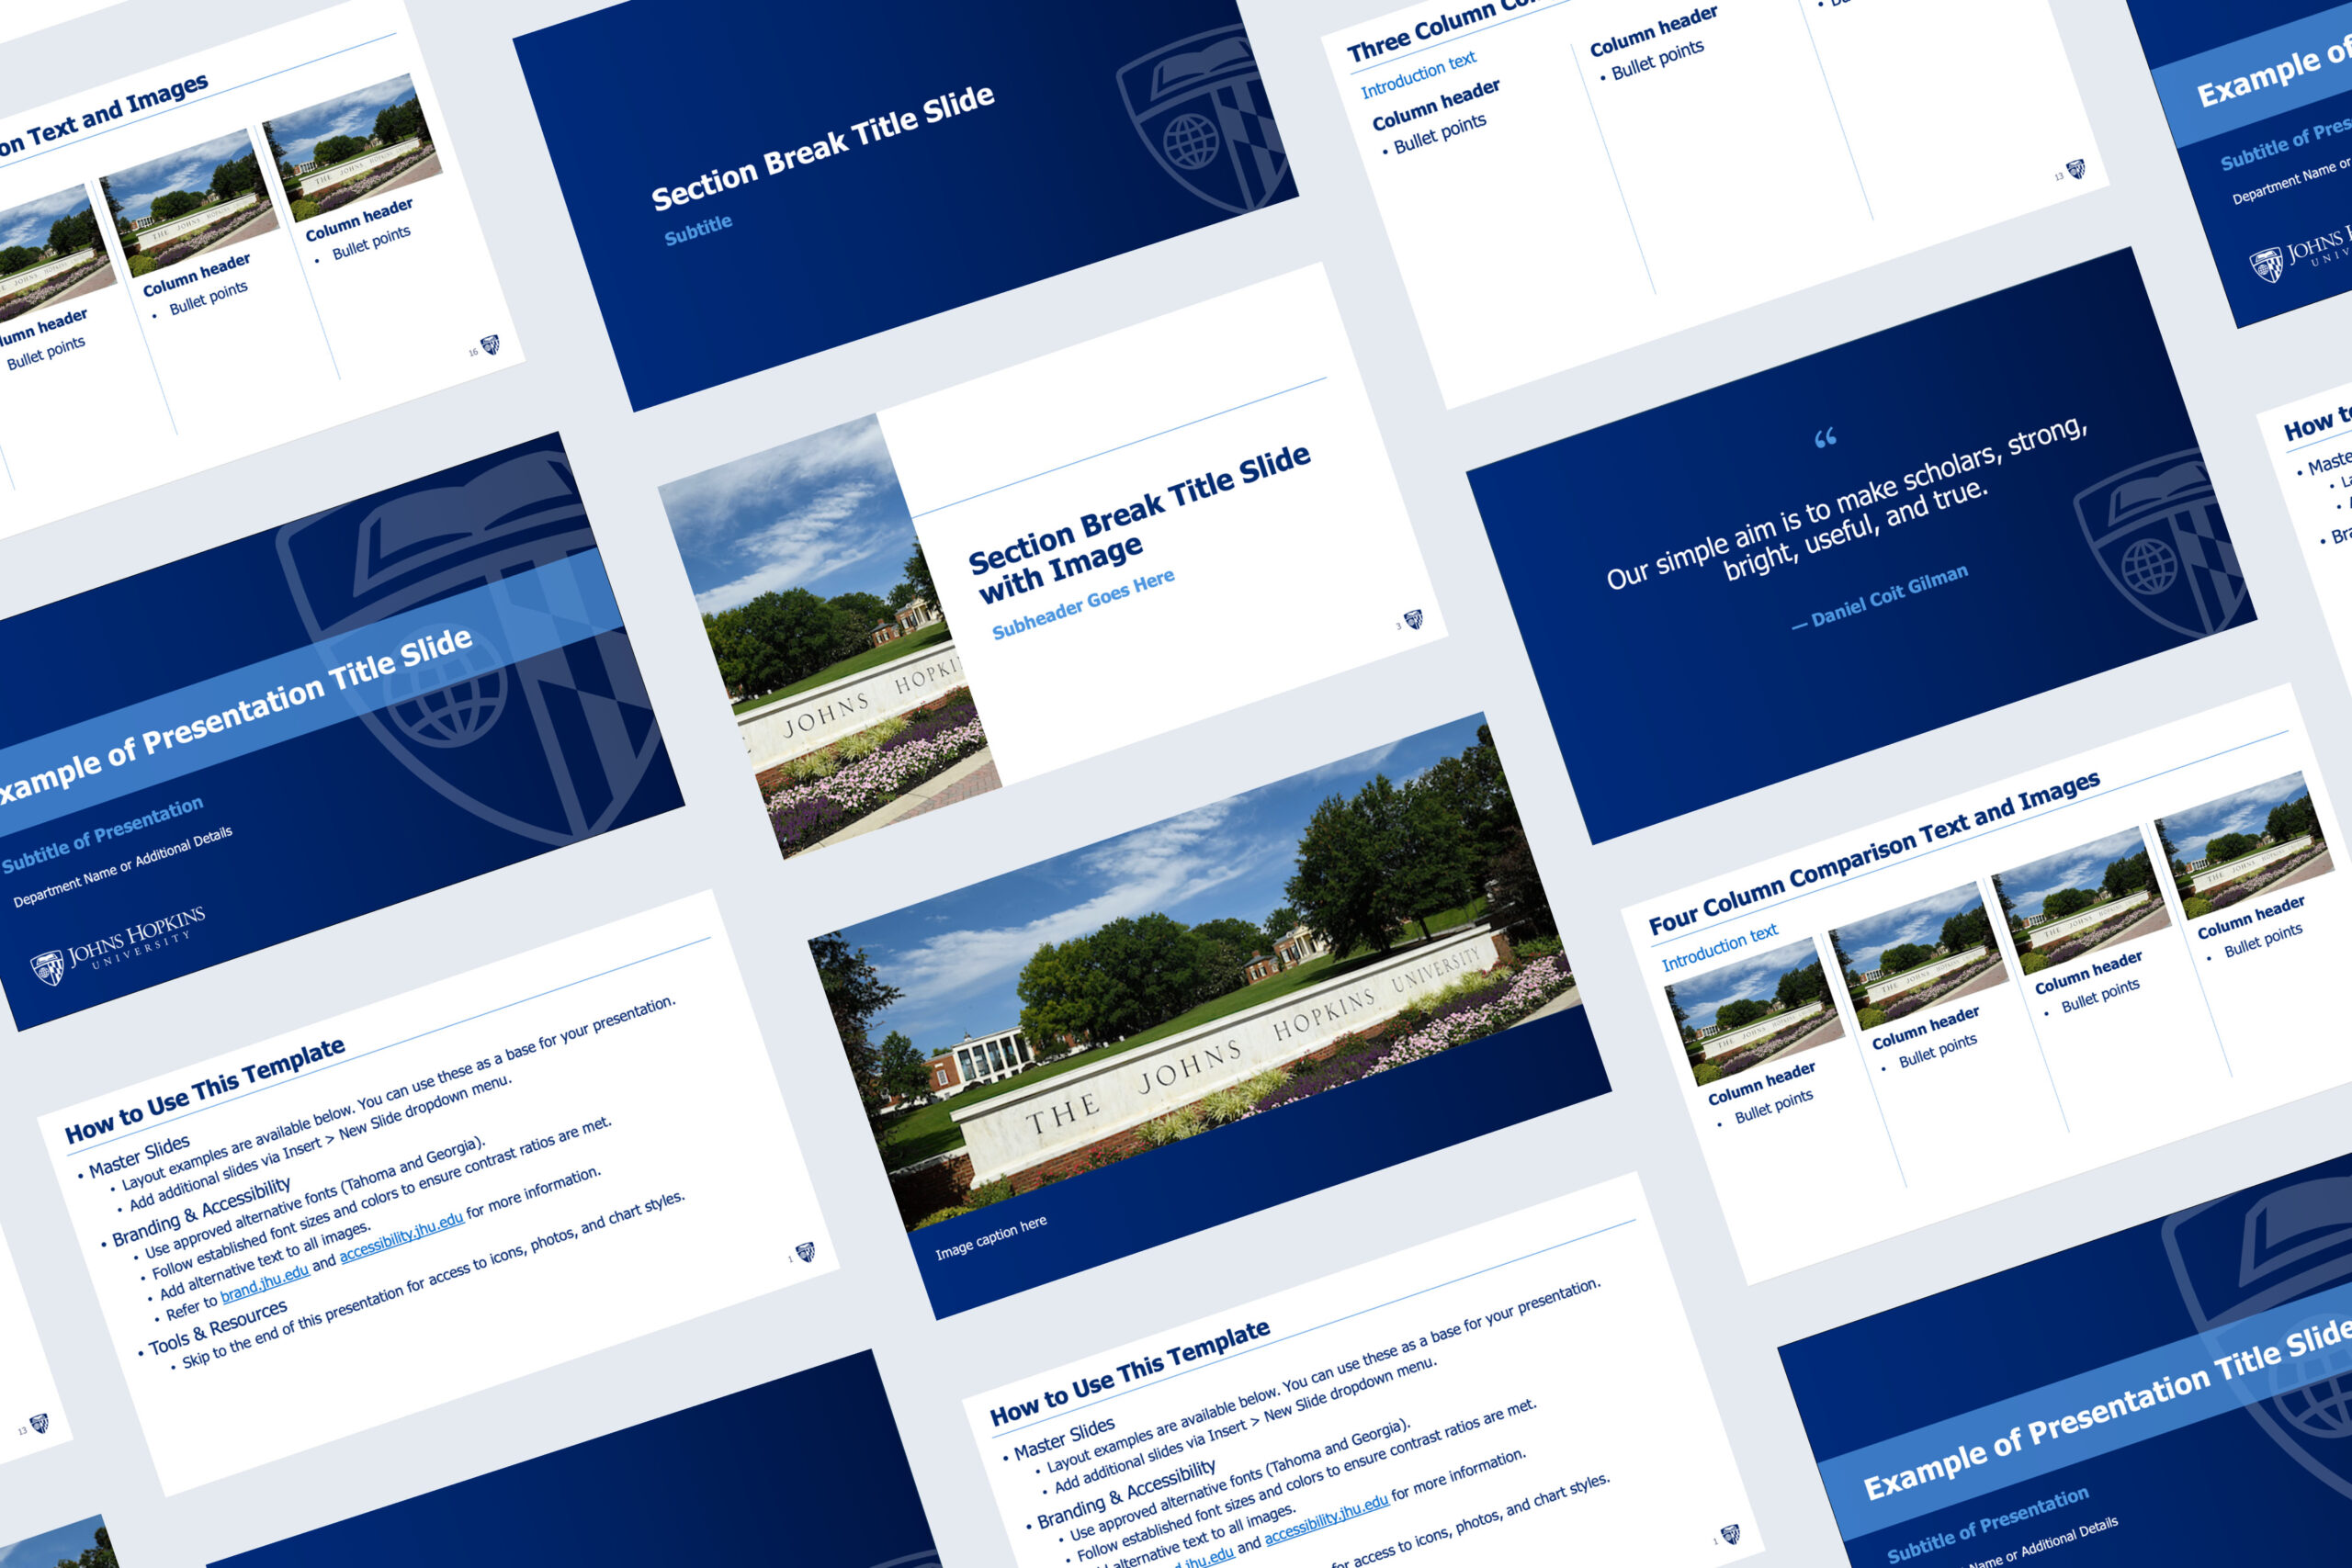
The best slideshows maintain consistency in branding and formatting throughout the presentation. And the best way to ensure your colors, fonts, text placement, and backgrounds are consistent is to use a template.
The university’s official PowerPoint presentation template is available in our Download Library. This template uses Master Slides, offering a variety of layouts, so you can choose what works best for your content. You’ll notice that our PowerPoint template is designed using the Johns Hopkins University logo and shield, which can be used by everyone across the university. If you’d like to access a division-specific template, please contact your division’s Brand Ambassador. Alternatively, you’re welcome to edit the Master Slides on the JHU template to include your division or unit logo and relevant shield.
Resource: Customize a Slide Master Tutorial
Slide Layout
Titles
When you’re building your presentation with master slides, you’ll notice there’s almost always a placeholder for a title on the slide. It’s best practice for each slide to have a title in order to set the scene and clarify the topic of the slide to your audience. We also recommend that you keep your titles short—there’s no need for full sentences—stick to keywords.
Body
The bulk of your content will exist in the body of your slides, but remember the purpose of a PowerPoint is to aid in your presentation, not to have your audience read your script. Here are some general tips:
- Apply the 7×7 rule—a maximum of 7 lines or bullets per slide, and 7 words per line.
- Left-align all body copy so it’s easier to read.
- Let your content breathe with white space so your audience isn’t overwhelmed.
Accessibility
All digital presentations, PowerPoint or otherwise, should be accessible—your content must be readable and available to everyone, including people with different abilities and needs.
PowerPoint has a built-in accessibility checker that you should use before finalizing any presentation. It checks your images for alternative text, slides for reading order, colors for contrast, and more. There are a few things you’ll need to take care of manually, though, including adding alternative text and reviewing reading order.
Resource: PowerPoint Accessibility Tutorial
Slide Elements
Fonts
Font choice is extremely important in presentation design. Viewers may be watching your presentation virtually, or they could be in a large conference room sitting far from the screen. We want to make sure that the text on your slides is readable either way. Follow your template’s established style and size for headlines and body copy across your slides.
Our default fonts recommended for use in PowerPoint are Tahoma and Georgia. You may be wondering why we’re using these fonts instead of our licensed brand typefaces, Gentona, Quadon, Titling Gothic, and Arnhem. The simple answer is that every computer comes with Tahoma and Georgia already installed as a system font, whereas only certain employees have access to the brand fonts due to licensing restrictions.
Here are a few other tips for creating readable slides:
- Avoid using decorative fonts, like cursive writing or bubble letters.
- Stay away from formatting with ALL CAPS or italics; instead, add emphasis on words by bolding.
- Keep your font colors limited—two colors maximum; rely on your slide template to define those for you.
- Set minimum font size to at least 20 points, but 24 is ideal for body copy. Headlines should be at least 30 points.
Colors
Using high-contrast colors for your text and background ensures good visibility and accessibility of your slides. Heritage Blue has the highest contrast with a white background. Medium Blue also meets the necessary minimum 4.5 to 1 contrast ratio with white, and so does Harbor Blue, as long as the font size is at least 18 points.
Photography
Photography can help you tell the story of your presentation, but a slide can quickly go from strategic photo use to an overwhelming collage. Consider your image selection and whether it adds context or helpful examples to your slide, or if it’s just there for decoration.
You can access Johns Hopkins University photography via our Photoshelter. Ideally, you should use Johns Hopkins-specific images in your presentations, but that’s not always realistic depending on your subject matter. Maybe you’re using screenshots from social media, or you’re pulling stock photography from a free or licensed resource like Unsplash or Getty Images. Those are all suitable solutions, but please avoid saving photos or graphics directly from Google because you likely don’t have the appropriate permission to use them.
When adding images to your slides, use the placeholder image blocks available on the master slides. Understandably, the slide layouts in the JHU PowerPoint template may not always accommodate the number or formatting of images that you’d like to use. So, you may have to alter the layout. Keep these tips in mind:
- Avoid rotating or tilting your images. Instead, keep all of your photos aligned, with an equal amount of spacing between them.
- Avoid adding effects to your images, like drop shadows or a Polaroid frame. These introduce new styles that are not aligned with our brand and can create inconsistency in your image usage across slides.
- Limit the use of overlapping images and avoid overlapping images with text. Instead, resize or reduce your images so they all fit comfortably on the page, and the subject of the image is not covered up.
Charts & Graphs
We see charts and graphs frequently used in presentation designs because they can be very effective tools for visualizing insights from data. Building your charts directly in PowerPoint, through its integration with Excel, is a great option for brand consistency because you’ll be able to edit the colors, text, and chart type to align with the brand fonts and colors (noted above).
As with images, it’s best to stick to simple chart styles, rather than those with special effects. All charts and graphs should include titles and labels for the figures, but remember to keep them short and simple. You’ll be describing the data while presenting, so you can add more context then.
Resource: Charts and Graphs Tutorial
Icons
Did you know that we have a branded icon set available for use in your presentations? We even include the most commonly used icons directly in the JHU PowerPoint template. Icons allow you to communicate keywords or topics in place of images or extra text. If you’re choosing between stock images or icons, go with the icons. This keeps the slide on brand while communicating your key topics and avoids the generic stock photo look.
Smart Art
PowerPoint’s built-in SmartArt feature is a great tool for displaying information such as lists, matrices, processes, pyramids, and even hierarchies. When adding SmartArt, be sure to update the font to Tahoma and switch up the background and font colors to align with our brand. Remember to keep accessible color combinations in mind! Similar to photos and charts, we recommend skipping the special effects or alternative styles for SmartArt graphics.
Resource: SmartArt Tutorial
Transitions and Animations
Animations get distracting quickly, and they typically do not add to your presentation. We don’t include any built-in transitions or animations in the JHU PowerPoint template. However, there may be occasions when you want to include a reveal or add a subtle transition to your next slide. If that’s the case, here are a few guidelines:
- Keep it subtle. Fades and dissolves are the best for this. Avoid the “exciting” transitions, like Curtains or Checkerboard.
- Keep it consistent. If you’re going to use transitions or animations, choose one or two styles to use consistently throughout your presentation. Do not use a different transition for each slide.
- Keep it short. Your transition or animation should last a maximum of five seconds.
Resource: Transitions Tutorial
Resource: Animations Tutorial